
I apologize in advance; this post is going to be quite lengthy.
So I needed a dress for a special service at church and I have been coveting lace overlay dresses for a while now. I really wanted to have scalloped edges on the hem and sleeves but wasn't sure if I knew how to pull it off. I found this post on Gertie's New Blog for Better Sewing and that was all the info I needed for how to pull off the scalloped edges.
Next I needed to decide on a pattern. I looked far and wide and decided on New Look 6124 - View E.
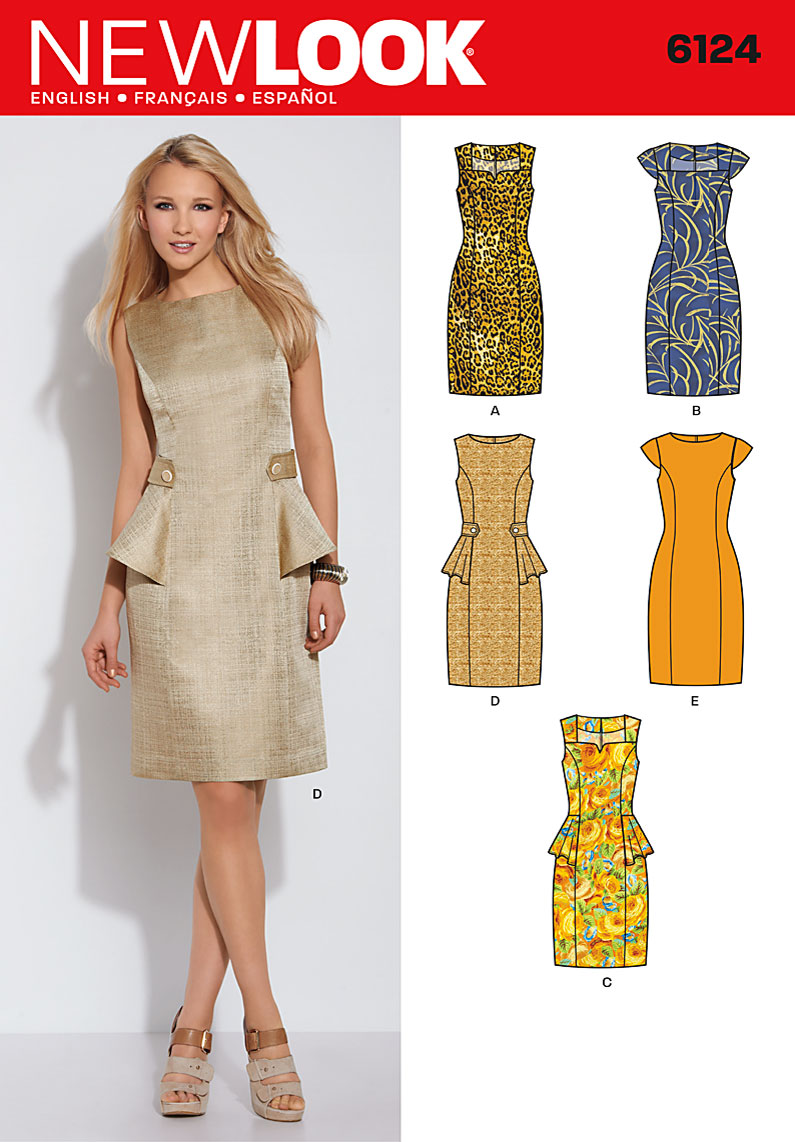
I rushed right out to Joann and prayed that they had the new patterns in and luckily they did so I didn't have to order it online. I was really taking a gamble because at that point I only had 2 weeks until the event and I had never sewn a burda pattern before.
Based on my measurements I cut out the size 14 for my muslin. The pleating was the most time-consuming part. Once that part is done, the rest of the dress sews up very quickly. In the muslin I noticed quite a bit of gaping in the bodice so I decided to go down a size. I cut out the 12 only for the bodice and tried it on for fit. That seemed to alleviate the gaping so I went ahead and cut out my fashion fabric. When I got to the end I discovered the gaping was likely due in part to another issue but I'll mention that later in my review.
Following Gertie's tips I first cut out the underlay pieces. I folded up and pressed the hem allowance on the skirt front and back. I didn't stitch them just yet because I wasn't ready to commit lol. I spread the lace over the underlay pieces and used weights to stablize and then pinned the fabrics together. I then cut the lace using the underlay as a guide and then hand-basted the pieces together. For the hems I lined up the scallops where I wanted them to overlap at the bottom. Here's a few pics of the process.

Lining up the scalloped edges with the hem...

All the pieces cut out and basted... (All except the sleeves. I wanted the sleeves to hit at just a certain place and I wasn't ready to commit just yet.) LOL!

That was pretty much all of the preliminary steps. Following is my review using the template from Pattern Review
Pattern Description:
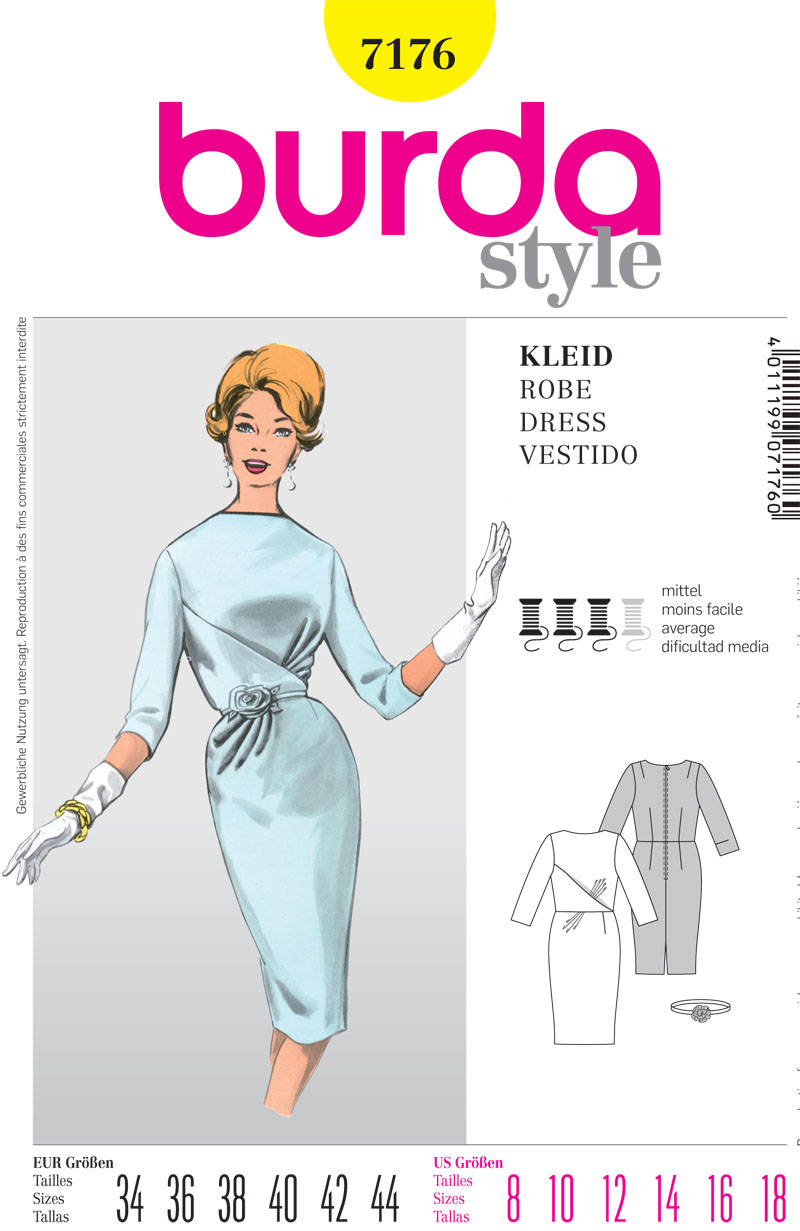
Genuine vintage dress in the style of the 60s, ¾ sleeves, narrow skirt and diagonally running pleats of the skirt and the bodice. The walking slit in the back provides wearing ease.
Pattern Sizing:
8-18. I cut the 12. The 12 was a bit snug. I probably could have made the 14.
Did it look like the photo/drawing on the pattern envelope once you were done sewing with it?
Yes it did although it is difficult to see the pleating detail in pics because of the lace.
Were the instructions easy to follow?
Yes the instructions were pretty thorough. This was my first time sewing a Burda pattern and some of their terminology is a bit different than what I'm accustomed to but it wasn't a major hindrance. Some of their construction techniques were also a bit interesting. In some instances I just went with what I'm familiar with. For example, the instructions tell you to attach the bodice lining, then hand stitch the lining to the zipper, then attach the skirt lining and hand stitch the rest of the lining to the zipper. I couldn't for the life of me find any good reason to do it that way. So I attached the entire lining first and stitched the lining to zipper all at the same time.
What did you particularly like or dislike about the pattern?
I LOVE the shape of the dress. I also love that the overall design of the dress is very basic/simple but the pleating detail gives it just the right amount of flair.
I did have some problems getting the bottom of the bodice to line up right. I don't know if my darts/pleats were off or if it was a flaw with the pattern. I do know that I sewed the bodice 4 times total including my 2 muslins, and the first time I sewed the fashion fabric I ended up taking out the darts and doing it over because the two pieces were WAY off. The 2nd time around it still didn't fit exactly but I was able to fudge it and make it work.
Fabric Used:
I used poly crepe back satin for the underlay and poly lace for the overlay. For the lining I used Ambiance lining. For the belt I used a costume poly satin. All from Joann.
The fabric flower was actually a brooch/hair pin that I happened to have on hand. I did go out and look at different ones but I didn't find any I liked as well as the one I already had. I just pulled the clips off and sewed the flower to my belt.
Pattern alterations or any design changes you made:
- I shortened the sleeves quite a few inches because I wanted the scallops to rest just above my elbow.
- I doubled the width of the belt and added about 1.5 inches to the length for wearing ease. When I was looking for inspiration (or something ready-to-wear that I could purchase), I saw this dress on Etsy and thought that the wide satin ribbon belt was a nice touch.

- The neckline was EXTREMELY high. I ended up cutting about 2-3 inches from the neck. It was really far up my neck and was choking me. I've been choked before and didn't enjoy it a whole heck of a lot. No way am I going to voluntarily choke myself. In hindsight I think that THIS is what was causing some of the gaping in the bodice when I made my muslin. I now think I could have gone ahead and sewn the 14 and modified the neckline. This is how much I cut out of the neckline.

Would you sew it again? Would you recommend it to others?
I probably will not sew this dress again. It is such a unique design. You only need one. I would recommend this to others. It is a lovely dress. However I probably would not recommend this to a beginner.
Conclusion:
I LOVE the results. I think the dress turned out nice. It was everything I imagined. I received lots of compliments. The dress with my accessories was exactly the look I was going for. This was a few firsts for me. My first Burda pattern. First time sewing lace overlay. Here are a few more pics...

Me and my daughter (Baby Girl)

Close-ups of details...


Fascinator designed by Kym at Gee's Hats in Warren, OH.


I don't have a good pic from yesterday displaying my box clutch but here are phots of the clutch alone. It was purchased from DSW. It is so cute but equally tiny lol. I had enough room to fit my lipgloss, a pen, a few mints, a handkerchief and my lace gloves. No keys, no phone, no mirror/compact. :o)


Wow. This is a great review and the work you've done is wonderful.
ReplyDeleteThanks velosewer!
ReplyDeletethis is stunning, really quite fantastic. you look beautiful! interesting note about the neckline and i know what you mean about burda having some interesting instruction choices.
ReplyDeleteThanks dixie
ReplyDeleteAboslutely GORGEOUS!!! So happy to see this made up what a fab job. When Burda released those vintage patterns this was the first one in my hands. Fortunately, I'm able to get all of the new patterns it seems as no one sews them but me. LOL. BTW, I discovered your blog via PatternReview.com. Thanks for sharing.
ReplyDeleteThank you Brenda. Thanks for stopping by my blog. I have a couple other Burda patterns that are on the top of my sewing list. There was just so many that were absolutely adorable.
ReplyDeleteHi!! Thanks for stopping by my blog! I remember reading ur pattern review in the 5850 :) u have done a wonderful job on this Burda pattern... And with lace! WOW! U r so talented!!! Look forward to seeing more creations from u :)
ReplyDeleteThanks Neeno!
ReplyDeleteI LOVE this so much! amazing job!
ReplyDeletexoxo
Thanks Mimi! That means a lot coming from one of my sewing idols! LOL
ReplyDeleteBeautiful job!
ReplyDeleteI am working on making a lace overlay dress right now and the pattern I chose has a slit in the back. It looks like yours has one, too. How did you handle that part?
Gaitedgardens once I basted the lace & satin fabric together I treated them as one piece so I just followed the pattern instructions. The edges of the walking vent are folded and I did cut away a piece of lace where it overlaps. I will try to email u a pic of the inside.
ReplyDeleteGaitedgardens once I basted the lace & satin fabric together I treated them as one piece so I just followed the pattern instructions. The edges of the walking vent are folded and I did cut away a piece of lace where it overlaps. I will try to email u a pic of the inside.
ReplyDeleteThank you. Your help is greatly appreciated.
ReplyDeleteJust beautiful!
ReplyDeleteThanks Evesewcool
ReplyDeleteThis is beautiful. Great job!
ReplyDeleteThanks Anonymous
ReplyDeleteYou did an amazing job!!
ReplyDeleteThis looks lovely!
ReplyDeleteThanks Ysenia
ReplyDeleteBeautiful!
ReplyDeleteThanks Sister Friday
ReplyDeleteim about to attempt to put a lace overlay on a simple wedding dress i purchased, do you have any thoughts or tips on how to go about doing that?
ReplyDeleteYou did great.
ReplyDeleteThanks Scrap Advocate
ReplyDeleteOk. You look like you are your daughter's age!! Great dress and hat:)
ReplyDeleteLady ID you are much too kind. Thank you!
DeleteHi there
ReplyDeleteWell done with the dress you did an awesome job. I saw the pattern a month ago and bought it and last night I started working on cutting out the pieces for the dress. Am so excited to see the end result. I will be wearing the dress to a friends wedding in 18 days.
I was just wondering where did you get a flower tutorial? I noted that their isn’t one included with the pattern. Can you help?
Thank you
Hi Angelique. I did not make the flower on the belt. I actually used a purchased hair clip I had on hand. Check places like Hobby Lobby or Joann in the jewelry making section or any store in the hair accessories section. I simply removed the clip and hand-tacked the flower to my belt.
Delete